How to Detail Your Car at Home Like a Pro
Introduction
Alright, let’s talk about something that can truly give your vehicle that wow factor—car detailing! This isn’t just about giving your ride a quick wash; oh no! Detailing your car at home not only keeps cash in your pocket but also gives you the reins on all the products and methods you use. Whether you’re gearing up for a special event, hitting the road for a trip, or just wanting to roll around in a squeaky-clean car, mastering the art of detailing can seriously boost your vehicle’s looks and longevity.
This all-inclusive guide is here to lead you through the ins and outs of DIY car detailing—from gathering your supplies to nailing every step of the process. Get pumped to turn your car into a stunning showroom star!
Table of Contents
- Essential Supplies for Car Detailing
- Interior Detailing Techniques
- Exterior Detailing Techniques
- Cleaning the Engine Bay
- Professional Tips for Perfect Results
- Conclusion
- Frequently Asked Questions (FAQ)
Essential Supplies for Car Detailing
Ready to kick off your detailing project? You’ll need a mix of supplies that cover both the inside and outside of your vehicle. Here’s the lowdown on everything you need:
- Car wash soap
- Detailing brushes
- Microfiber towels
- Vacuum cleaner
- Interior cleaner
- Glass cleaner
- Wheel cleaner
- Clay bar kit
- Wax or sealant
- Polish or compound
Now that you’ve rounded up your supplies, let’s jump into the detailed steps for both interior and exterior detailing!
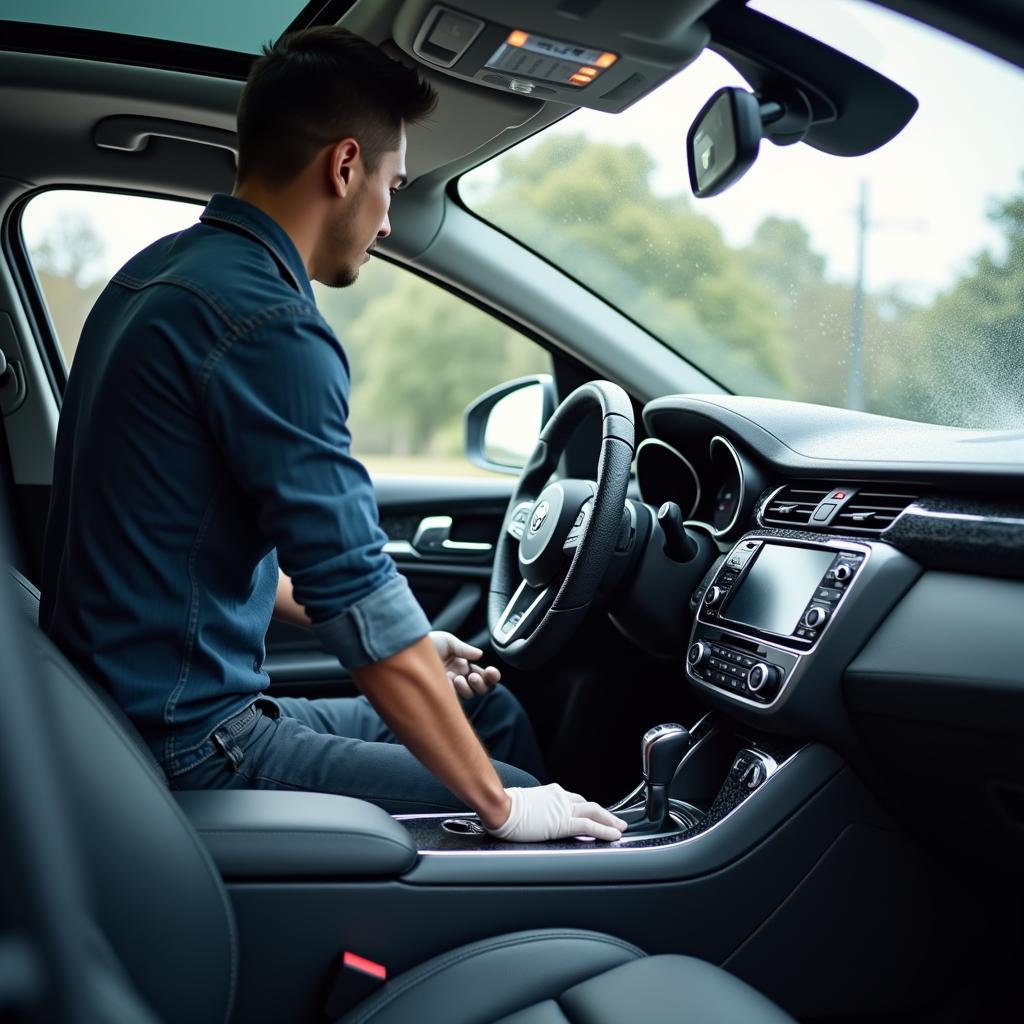
Interior Detailing Techniques
Getting the inside of your car looking sharp is vital for a sweet driving experience! Here’s a simple, step-by-step roadmap to achieve a professional-looking interior:
Step 1: Remove All Items
First things first, clear out all personal items, trash, and anything that doesn’t belong in your car. Trust me, this makes it way easier to get into all the nooks and crannies and stops you from accidentally damaging anything while you clean.
Step 2: Vacuum Thoroughly
Grab a vacuum cleaner decked out with the right attachments and tackle every little corner of the car’s interior. Don’t forget those carpets, mats, and the sneaky spots between and under the seats! For the trickier areas, a detailing brush can really help loosen up all that dirt and debris so it’s a breeze to vacuum up.
Step 3: Clean the Dashboard and Console
Spray some interior cleaner onto a microfiber towel and wipe down the dashboard, center console, and all those other surfaces. But hey, easy on the harsh chemicals—they can wreak havoc on your materials. For textured spots, a detailing brush is your best friend to make sure you get a thorough clean.
Step 4: Steam Cleaning
If you can swing it, get yourself a steam cleaner to tackle those yakky stains and pesky odors in the upholstery and carpets. Steam cleaning is phenomenal because it sanitizes the fabric without soaking it, helping you avoid any mildew drama.
Step 5: Glass Cleaning
Now, it’s time to make those windows sparkle! Use a dedicated glass cleaner and a fresh microfiber cloth to shine up the interior windows. Make sure you follow up with a dry cloth to ward off streaks. Spotless windows boost visibility and keep your ride looking fresh!
Exterior Detailing Techniques
Alright, once you’ve given the interior some love, let’s shift gears to the exterior. This part is all about nailing that glossy, head-turning finish.
Step 1: Rinse the Car
Start by giving your entire vehicle a good rinse with water. This helps wash away loose dirt and debris, so you don’t end up scratching the paint while you wash.
Step 2: Wash Using the Two-Bucket Method
To dodge those pesky swirls and scratches, employ the two-bucket method: one bucket rocks soapy water while the other is for rinsing off your wash mitt. This way, your mitt stays clean and you avoid dragging dirt across your beautiful paint.
Step 3: Drying the Car
After a good wash, grab a microfiber drying towel to tackle those annoying water spots. Start from the top and work your way down—this ensures a solid drying job!
Step 4: Claying the Paint
A clay bar kit is a game-changer for removing embedded contaminants that your regular wash won’t touch. Just lubricate the surface and glide that clay bar over the paint, kneading it as it gets dirty.
Step 5: Polishing and Waxing
Once you’ve cleaned everything up, apply a top-notch polish to amp up your paint’s shine and color. Then, seal the deal with wax or sealant to protect against the elements. Waxing not only amps the shine, but it also makes your next cleaning session a total breeze.
Cleaning the Engine Bay
Now, I know cleaning the engine might seem a bit intimidating, but let me tell you—it’s an important part of car maintenance! Here’s how to do it safely:
Step 1: Preparation
Start by covering sensitive bits like the air intake and exposed electrical connectors with plastic bags to keep them safe from water.
Step 2: Degrease the Area
Slap on some engine degreaser and let that stuff work its magic for a few minutes. This is key for breaking down all that annoying grease and grime.
Step 3: Rinse Carefully
Using a low-pressure hose, gently rinse the engine bay, steering clear of heavily spraying electrical components. For any stubborn dirt, whip out a brush to help tackle it.
Step 4: Dry and Protect
After rinsing, use a microfiber towel to dry everything off. Once it’s all dry, apply a rubber protectant on hoses and plastic parts to keep them looking fresh and prevent cracking.
Professional Tips for Perfect Results
If you want the best results when detailing your ride, keep these pro tips in your back pocket:
- Work in shaded areas to keep products from drying too fast and leaving streaks.
- Invest in quality products and tools; they really make all the difference!
- Take your time—rushing can mess up those finishing touches.
- Regular maintenance—even a quick vacuum and wipe down—helps keep your car looking sharp.
- Frequent detailing maintains your car’s value and can help it last longer.
With these tips, you’re set to elevate your car detailing skills and achieve that professional finish every time!
Conclusion
Taking on car detailing at home might feel a bit overwhelming, but if you stick to the steps laid out in this guide, you’ll achieve results that could rival any pro service out there. Remember to be patient, use quality products, and enjoy taking care of your vehicle.
Now that you’re armed with some solid knowledge and techniques, it’s time to roll up your sleeves and dive into your car detailing project! Relish that feeling of cruising in a beautifully maintained ride. And for all your car care essentials, don’t forget to swing by Mega Choice Bazaar for top-notch products!
Frequently Asked Questions (FAQ)
1. How often should I detail my car?
The sweet spot for detailing your car is every 4 to 6 months, but you can do a quick wash and interior clean weekly or bi-weekly to keep things looking fresh.
2. Can I use regular household cleaners for detailing?
Nope! It’s better to stick with products made for cars to avoid screwing up any materials or surfaces.
3. Is engine cleaning necessary?
While you don’t have to do it all the time, cleaning your engine bay helps you spot any leaks and can actually boost engine performance by keeping things tidy.
4. What is the best wax or sealant for my car?
The best wax or sealant will depend on your vehicle’s paint type and the level of protection you’re after. Researching products and checking reviews can help you pick the perfect fit!
5. Can I detail my car in direct sunlight?
Not a great idea! Direct sunlight can make products dry too quickly and cause streaks. Find a shaded, cooler spot to make it easier on yourself.


Leave a comment